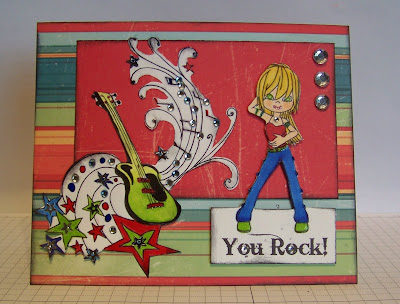
This weeks challenge at
Simply Scrapping I made another tutorial for you. This is another very simple card to make and just what you need when giving someone a gift card. You can make this for a birthday, thank you or Christmas. Do you know some friends or family you are giving a gift card to on Christmas? Well if you do this challenge, you'll be one step ahead of the game come Christmas time. Once you see how easy these are you may want to make them in advance so you will have these ready when you need them.
I did the tutorial using just a solid colored cardstock in hopes it would show up easier but on my final card I used different paper. Here is what it looks like finished:


Gift Card Holder - Card Tutorial
Cut cardstock or double sided paper 5” x 12”; then score at 4”, 6” and 8” (ignore that second score line on mine – I made a mistake when doing my 4” in score line)


Fold card as shown – valley, mountain, valley (that’s how the folds should go)

Turn the card over on the back side and add adhesive to the fold around the edges as shown. You want to make sure you don’t add adhesive the middle section because that is insert for the gift card.

Fold the card together and turn over. This is looking at the inside of the card.

Now you need to make an opening for the gift card to slide into the middle section. I used a punch from Stampin’ Up and punched it a couple of times to make it wide enough. You can experiment with different styles of punches to get this opening or you can just cut an opening with scissors too.

I used scissors to cut off the little rounded part left by the punch to make it a straight edge (where I’m pointing on the picture).

Now the opening for the gift card is done.

On my finished example, I used a scallop punch just a decorative touch. Not necessary but just another place to embellish and I love to embellish!!

Put adhesive on just one side of the punch and adhere below the opening for the gift card. Just decorate the front as desired.

Here is my finished card again.


 Guidelines YOU MUST USE EVERYTHING ON THE LIST


 The skull stamp is from Imaginisce and I stamped it in purple then covered it in purple glitter. The paper is also from Imaginisce called Hallowhimsy.


 If you would like a chance to win this image you need to go enter the


 Ok so my take on it didn't really play up the great colors from the pictures but I really wanted to use this paper. Plus when I'm making these cards I try to think of something I could really use. Since the kids are back in school, I know they'll be getting invited to the birthday parties so I can always use a birthday card. This one will end up going to one of Austin's friends. I only used the paper and cut outs from the paper line which is Cosmo Cricket "Cogsmo" line. All I added was a few brads and I did color the lines on the guage looking thingy. I pop dotted the robot on for extra dimension. I found a font that I thought would go along with a robot and just typed it out and printed it off the computer.


 So go check out the


 I made a card for the challenge and used paper from Basic Grey "Ambrosia-Zest", BoBunny - "Gift of Love". The square bling is Glitz - Black Frosting. I added black Stickles to the middle of the flower and colored the image with Copics.
 Now you need to go to


 Be sure to check the